
You plug in your USB flash drive, expecting to access important documents, photos, or backups, but Windows 11 doesn’t recognize it. The drive might be missing from File Explorer, appear without a drive letter, or show an error message. Fortunately, these issues don’t always mean your files are lost.
If you’re wondering how to fix a USB drive not showing up on Windows 11, I recommend starting with hardware detection before changing system settings. Sometimes, a faulty USB port causes the problem. Other times, Windows needs a driver update or a simple storage configuration adjustment.
In this guide, I’ll explain ten practical solutions to help you restore USB access while minimizing the risk of losing important files.
Why Is My USB Drive Not Showing Up in Windows 11?
Several hardware and software problems can prevent Windows 11 from recognizing a USB drive. Common causes include damaged ports, corrupted USB drivers, missing drive letters, incompatible file systems, and power management settings.
A USB flash drive not recognized by Windows 11 may also have a damaged partition or physical hardware failure.
I recommend checking whether Windows detects the device in Disk Management or Device Manager. This helps determine whether you’re dealing with a connection issue, driver conflict, or storage problem.
How Do I Fix a USB Drive Not Showing Up in Windows 11?
The most effective approach is to start with simple connection checks before trying advanced repairs.
1. Check Your USB Port and Connection
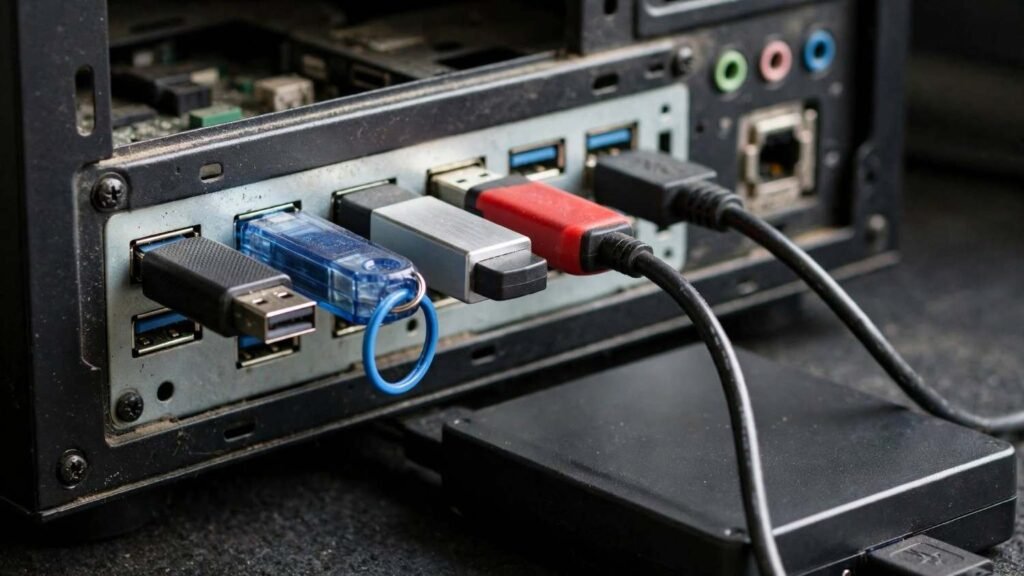
First, disconnect your USB drive and connect it to another port. If you’re using a desktop computer, try a rear USB port connected directly to the motherboard.
Avoid USB hubs and extension cables while troubleshooting. Connect the storage device directly to your computer instead.
I also recommend testing the drive on another PC. If it works there, your original Windows 11 installation or USB connection may be responsible.
2. Restart Windows 11 and Reconnect the Drive

Temporary system errors sometimes interfere with USB detection.
Disconnect the USB device, open the Start menu, select Power, and click Restart.
Once Windows finishes loading, reconnect the drive and open File Explorer.
If the external USB drive is still not showing up, continue checking its storage configuration.
3. Find Your USB Drive in Disk Management
When a USB drive is not showing in File Explorer, Windows may still recognize its storage hardware.
Right-click Start and select Disk Management. Locate your USB device using its storage capacity.
Check whether the drive appears as Healthy, RAW, or Unallocated.
A healthy partition may simply need a drive letter. However, RAW or unallocated storage can indicate file system or partition damage.
Avoid initializing or formatting a drive containing files you haven’t recovered.
4. Assign a Missing Drive Letter
A missing drive letter is a common reason a USB drive doesn’t appear in File Explorer.
In Disk Management, right-click the USB partition and select Change Drive Letter and Paths.
Click Add or Change, select an available letter, and confirm.
Reopen File Explorer to check whether the drive appears.
This method can resolve Windows 11 USB drive detection problems without formatting a healthy partition.
5. Update or Reinstall USB Drivers
Corrupted USB drivers may prevent your computer from recognizing external devices.
Right-click Start, open Device Manager, and expand Disk drives and Universal Serial Bus controllers.
Look for your USB device, an Unknown USB Device entry, or a yellow warning symbol.
Right-click the affected device and select Update driver, followed by Search automatically for drivers.
If updating fails, uninstall the affected device, then select Action > Scan for hardware changes.
Windows will attempt to reinstall the driver. Restart the computer if necessary, and avoid removing unrelated USB controllers.
6. Adjust USB Power Management Settings
Windows 11 sometimes reduces power to inactive USB devices, potentially causing detection or disconnection problems.
Open Device Manager and expand Universal Serial Bus controllers.
Right-click USB Root Hub, select Properties, and open the Power Management tab if available.
Uncheck Allow the computer to turn off this device to save power, then click OK.
I recommend testing whether this change improves your USB connection before adjusting additional settings.
7. Disable USB Selective Suspend Temporarily
USB selective suspend helps Windows conserve electricity, particularly on laptops. However, certain devices may experience problems resuming from low-power states.
Press Windows + R, enter powercfg.cpl, and press Enter.
Select Change plan settings beside your active power plan, then open Change advanced power settings.
If available, expand USB settings > USB selective suspend setting and select Disabled for On battery and Plugged in.
Click Apply and reconnect your USB drive.
Some Windows 11 computers don’t display this setting. Microsoft generally recommends keeping selective suspend enabled, so use this as a temporary diagnostic test and restore the original setting afterward.
Microsoft Learn
8. Repair USB File System Errors With CHKDSK
If Windows detects your drive but cannot access its files, file system corruption may be responsible.
Open Command Prompt as an administrator and enter:
chkdsk E: /f
Replace E: with the correct USB drive letter.
This command attempts to repair certain file system errors. Because repairs modify file system information, I recommend backing up accessible files first.
Avoid running CHKDSK on physically failing drives or devices containing irreplaceable files without considering recovery options.
9. Check Windows 11 and Manufacturer Driver Updates
If your USB drive stopped working after a Windows update, check for available fixes.
Open Settings > Windows Update and select Check for updates.
Review relevant optional driver updates, if available.
For external hard drives and SSDs, visit the manufacturer’s official support website for compatible drivers or firmware.
If the problem began immediately after a driver update, Device Manager may also offer a Roll Back Driver option.
10. Rebuild a Corrupted USB Drive Using DiskPart
If your USB drive has severe partition problems, DiskPart can rebuild its storage structure.
Warning: The following procedure erases the selected disk’s partition information and can cause permanent data loss. Never use it on a drive containing files you need.
Open Command Prompt as an administrator and enter these commands individually:
diskpart
list disk
select disk X
clean
create partition primary
format fs=exfat quick
assign
exit
Replace X with your USB drive’s actual disk number, identified by its capacity and other available details.
Verify the disk number carefully before running clean, because selecting the wrong disk can erase an internal or external drive.
You can use fs=ntfs instead of fs=exfat for primarily Windows-based storage. However, exFAT generally provides better compatibility across different operating systems.
I recommend using DiskPart only after backing up or recovering necessary files.
What if My USB Drive Is Not Showing in Disk Management?
If Windows doesn’t detect your USB drive in Disk Management, check Device Manager next.
Try another USB port, cable, or computer. External hard drives may also require additional power.
If the device doesn’t appear on any computer, it may have a hardware failure. Professional data recovery may be necessary if the missing files are valuable.
How Can I Prevent USB Detection Problems?

I recommend safely ejecting USB drives before disconnecting them, avoiding interruptions during file transfers, and keeping Windows 11 updated.
Protect flash drives from physical damage and maintain separate backups of important files.
These simple habits help reduce file corruption and unexpected storage problems.
Frequently Asked Questions (FAQs)
Why Is My USB Drive Detected but Not Showing in File Explorer?
Windows may recognize the hardware without assigning a drive letter. Open Disk Management and check whether the partition is healthy. Assigning an available drive letter may restore access.
Can I Fix a USB Drive Without Losing Data?
Yes. Checking connections, updating drivers, and assigning drive letters generally don’t require deleting files. However, CHKDSK and partition changes can affect stored data, while DiskPart cleaning and formatting are destructive.
Why Does My USB Drive Work on Another Computer but Not Windows 11?
Your computer may have USB driver conflicts, faulty ports, or power management issues. Check Device Manager, test alternative ports, and install appropriate driver updates.
How Do I Fix a USB Drive After a Windows 11 Update?
If you’re researching how to fix a USB drive not showing up on Windows 11 after an update, inspect Device Manager, check for additional updates, and consider rolling back a recently changed driver when that option is available.
Final Thoughts
A missing USB drive can be frustrating, especially when it contains valuable files. However, I recommend troubleshooting the problem systematically rather than immediately formatting the storage device.
Start with USB connections, investigate Disk Management, and check driver settings before attempting advanced repairs. Just as learning everyday connectivity tasks like sharing wifi password from iphone to android can simplify device management, understanding USB troubleshooting can help you resolve common connection issues.
Understanding how to fix a USB drive not showing up on Windows 11 can help you restore access safely, identify potential hardware problems, and avoid unnecessary data loss.
Most importantly, maintain reliable backups so one malfunctioning USB device doesn’t put your important information at risk.